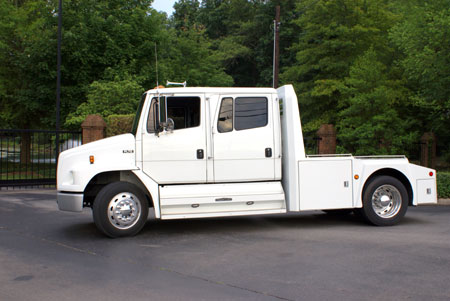
Freightliner Conversion Project and Photo Gallery
In 2001, I decided I wanted a Freightliner truck to pull our fifth-wheel camper. My Dodge Ram truck has a lot of miles on it now, and the camper is heavy to pull.
I 've talked to a lot of people and learned a lot during the past few years. It has been quite a journey from there (July 2001) to here. These gallery pages chronicle that journey.
From an idea
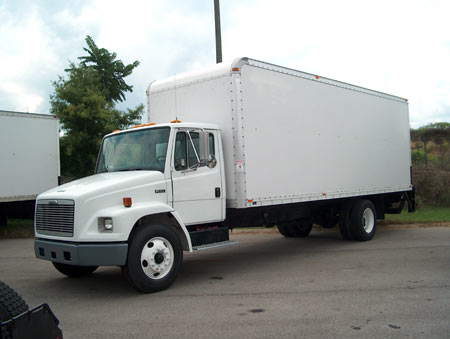
to a dream realized...